Barefoot Gal's interior teak refinishing project
A funny thing happens when you tell sailing friends that you’re writing a do-it-yourself (DIY) series—they start sharing stories of projects they have undertaken on their boats. When my friend Carolyn Shearlock (the founding owner of The Boat Galley) started telling me about refinishing the teak on her Gemini catamaran Barefoot Gal, my ears perked up.

Carolyn is many things that I am not, including tenacious (my favorite word for her). The degree to which I am ever motivated to work on a boat project is entirely dependent on one question: does it impact whether or not I can sail? Odds are good that if the answer is “no,” I won’t put much effort in. That’s just the way I am.
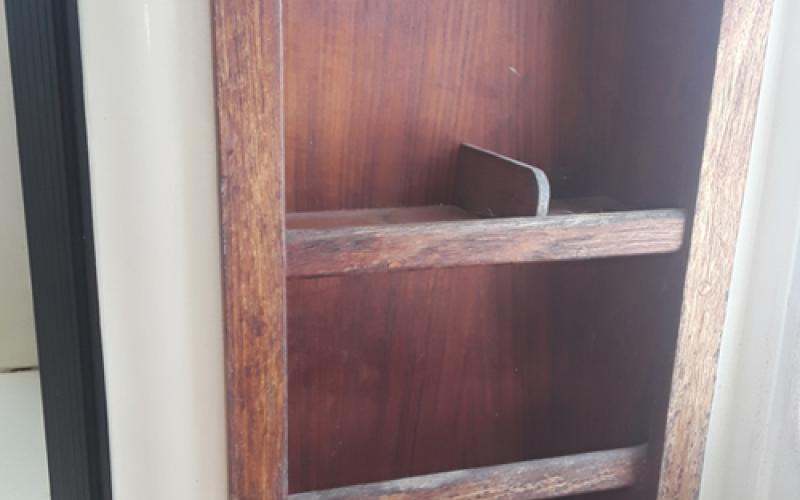
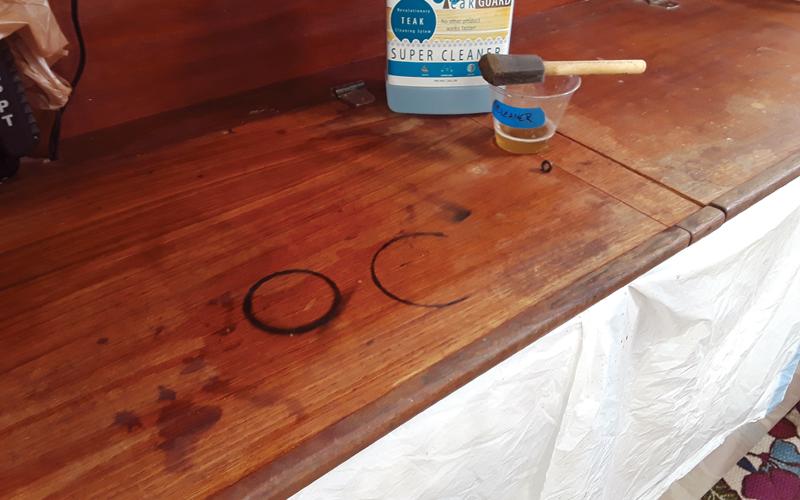
Barefoot Gal had some miles under her hull when Carolyn and her husband Dave decided that refinishing the interior teak was long overdue. The plentiful light in the boat’s interior left some of her wood faded. Hands left grimy residue behind on handholds. A previous owner got oily black rings on a teak shelf. It all needed to be cleaned up and protected.
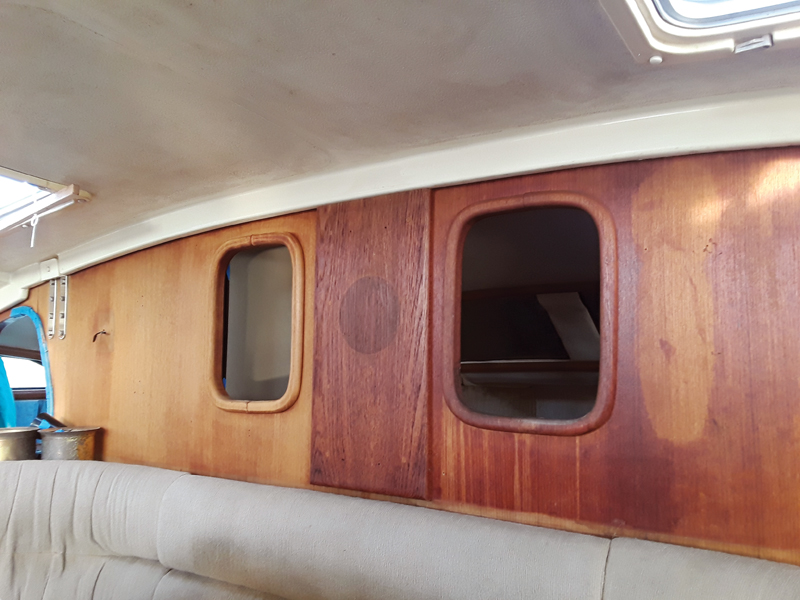
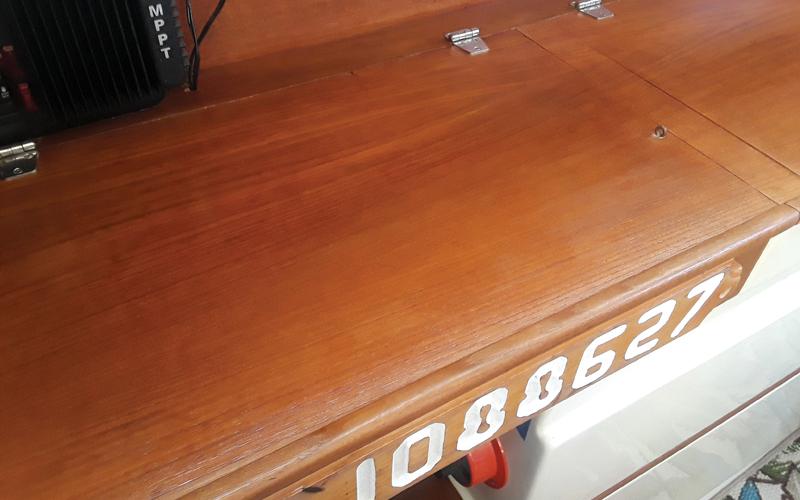
Carolyn wanted to use a coordinated system that would ensure that the cleaning and brightening compounds wouldn’t adversely impact the finishing of the teak, and that she was using products that were environmentally friendly. In her words, “I didn’t know exactly what I wanted. I did know that I didn’t really want varnish, as it tends to darken teak, and I wanted something that was easier to apply. I also didn’t want something that was prone to cracking and peeling.” In the end, she chose the Teak Guard family of products.
The first step in refinishing the teak was to clean it to get rid of mold and stains, and Carolyn used the Teak Guard Super Cleaner. While the instructions called to spray the cleaner on, Carolyn’s teak had enough build-up and stains that she chose to brush the cleaner on with a foam brush. Working on interior teak meant she was unable to hose off the wood as she went, so she had plenty of rags available for wiping off the product.
You will want to tape off your work space with blue painters tape and use drop cloths to protect surrounding surfaces. With any previous finish like varnish, Cetol, or wax removed, spray or brush on the Super Cleaner going over any stubborn areas with a scrub brush and rinsing or wiping the cleaner off. You’ll see the old dirt and oils coming off with each rinse. Repeat the cleanings paying particular attention to the tone of the wood as you go, for a more-even finished product.
Instructions call to apply the Teak Finish as soon as the cleaned teak has dried and within 24 hours of cleaning; otherwise the wood’s natural oils will rise to the surface and impact the finish. Carolyn found it easiest to apply the finish the next day, working in sections small enough to ensure completion. If working on exterior teak, be sure to check the weather report.
Pour a small amount of finish in a clean cup that a foam brush will easily fit in, and be sure to re-shake the finish every time you pour more out. Use a foam brush and apply a thin coat—if it runs or puddles, use a rag or paper towel to gently blot the excess. Let the first coat dry, maybe an hour or two. Repeat to apply a second coat. Let this cure overnight. Repeat, applying two coats a day and applying a minimum of six coats to all surfaces and up to 10 coats on high traffic areas. For spots where traction isn’t an issue and you want a higher gloss, simply polish the surface gently with brass wool the next day, and wipe thoroughly before applying further coats.
Every year or so you’ll need to add a maintenance coat of Teak Guard Finish. For the maintenance coat, simply wash with soap and water, rinse, let dry, tape, and apply the finish. There is no sanding.
As long as humans have tried to tame the seas, we have been struggling to defeat the destructive powers of salt air, UV, and water. There has never been and will never be a singular “correct” solution. But Carolyn’s project shows that there are ways to treat and protect your teak that won’t have you selling your soul to the process.
What she learned:
- Have plenty of blue tape, plastic drop cloths, and foam brushes on hand.
- You will also need a small scrub brush and a plastic cup to hold cleaner
- and finish.
- You will need lots of rags, water, and a good bucket.
- A vacuum cleaner is a huge help in cleaning up.
- Don’t try to work too fast or do too large a section at one time.
- Give the cleaner enough time to work and don’t get overly aggressive with scrubbing or sanding.
- Have patience!
by John Herlig
About the Author: John Herlig lives aboard his 1967 Rawson cutter Ave del Mar and teaches at Cruisers University. Find him on Instagram @sailing-ave.
Read our last DIY article here
