Winterizing: it's all about decisions, decisions
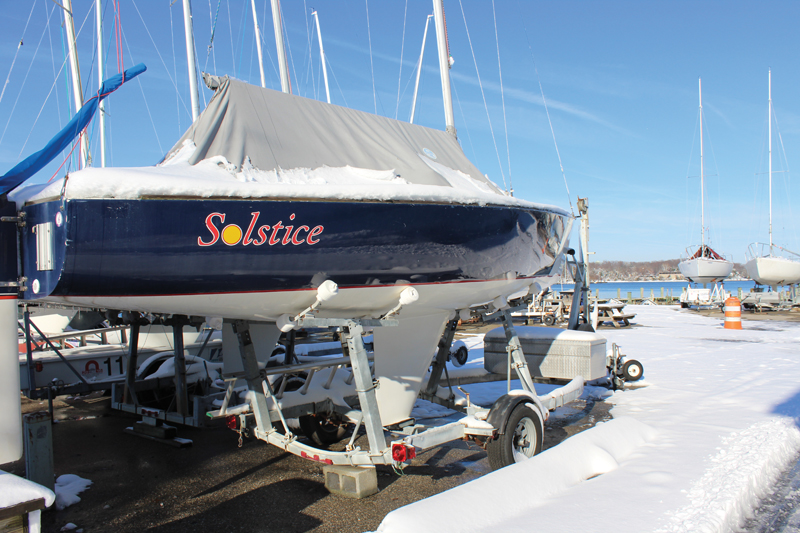
Stick in, or stick out? That’s just one quandary faced by sailboat owners when it’s time for winterizing and hauling out onto the hard at the end of the season. Yanking the mast, of course, is almost always more expensive than leaving it in, depending on the size of your boat and the configuration of your rig, but I worked for a boatyard one time that had figured out how to snag the boat owner both coming and going. If you decided to leave the mast in, you still had to pay a fee for someone to ‘check’ your boat stability and stands during the winter in case anything came loose in blustery weather. They took the payment, but I never personally saw any yard workers conscientiously walking around the yard on cold winter days checking chains and screw jacks. So, you pay one way or the other, but every few years it may just be a good idea to fork over the extra cash and have the mast pulled and laid out horizontally on a rigging rack.

If you pull the mast
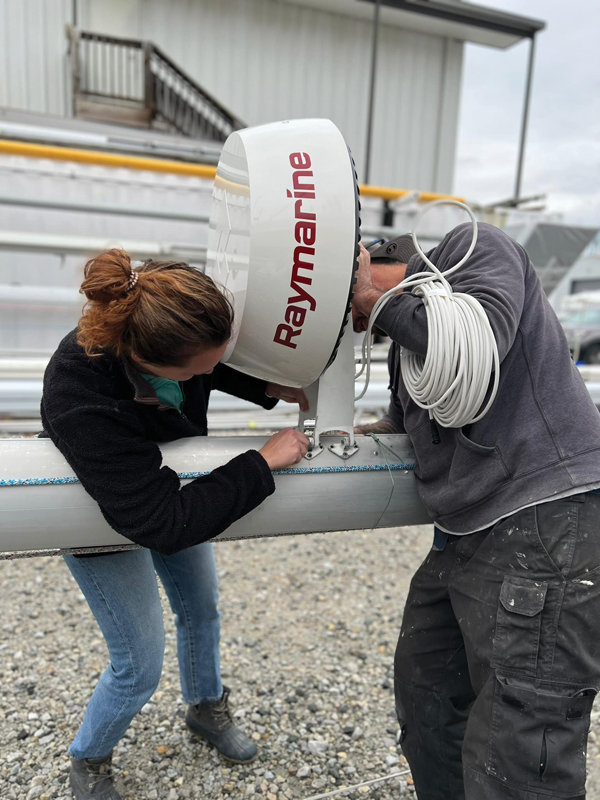
I owned a cruising sailboat, a Gulfstar 44, with a beefy rig, a bulky aluminum mast, and heavy stays. One year I decided to pull the mast. I wanted to update the equipment at the masthead, such as the VHF antenna, wind speed indicator, and lighting, replacing my old-style bow-mounted red and green as well as the anchor light with a compact three-lamp tower at the mast top. A greater height above the water, I reasoned, usually means greater visibility over distance.
It was an easy job with the instruments at waist-level, and I had greater confidence in its reliability. I also had the opportunity to thoroughly check my halyard blocks, masthead sheaves, checking for wear and lubricating with dry spray lubricant (McLube), all things much easier to perform than from a bosun’s chair, without time pressure or ‘acrophobia,’ and much more safely. I replaced some running rigging, and I also ran some new electrical wiring to the masthead.
Running new wiring is a good thing to do when wiring (and the boat) are growing older, as wiring insulation can become old and cracked. The wires usually run in a separate channel inside the mast (if aluminum, your mast is essentially just one long extrusion). You would be surprised how easily a wire that you are trying to remove can get caught up in something and jammed. It is always a good idea to work with a helper at the other end of the ‘extrusion’ to pull back and forth a little together when friction seems to be complicating matters. The last thing you want is for a wire to break and end up with a loose or broken end stuck halfway along the inner channel of a 60-foot aluminum extrusion mast. So, if I am using a ‘helper’ piece of wire, for example, connected to the terminus of the wire that I am trying to pull through, I will fasten those two ends together in the strongest way possible, including twisting and even soldering them, but doing my best to make sure that the diameter of the connection does not suddenly become significantly wider than the wire itself and that there are no rough spots or wire ends that can snag something on the way.
Lastly, I lightly scuffed the mast, especially careful to remove any bubbles of aluminum corrosion and primed and painted the mast with a two-part polyurethane high-gloss finish, using the roll-and-tip application method. My mast was done. In a few months, it would be hoisted back into the boat and stepped onto a strong metal plate that was bolted to the keel. The extra cost of mast extraction and rack storage was easily justified by the amount of work that I was able to achieve in one off-season and the ease and safety of doing it that way.

Winterizing and the freshwater system
Winterization naturally includes draining the freshwater system and filling the lines with ‘orange’ RV non-toxic antifreeze. But what about the drains, from the galley sink or sink in the head? My Gulfstar had, oddly enough, a six-foot length of 1.5-inch diameter white vinyl hose running from the galley sink to an overboard discharge seacock that was below the waterline. The hose was hidden by the cabin sole and ran horizontally through the bilge, and there was no vented loop. It was a poor design that I was unaware of. The second year that I owned her, fresh water pooled in that drain hose and froze and cracked the hose, which was quite a few years old.
In the spring, after launch, I noticed that the bilge pump ran fairly frequently and that there seemed to be a leak somewhere; the water tasted salty. This was a red flag. It took a bit of sleuthing, but when I discovered the cause, I shut the seacock and removed the hose, not an easy job, and discovered the crack. The only thing that had prevented the bilge from flooding was the amount of sludge that had collected in the horizontal length of hose. Now I end every season’s winterization with some antifreeze poured down each drain, for good measure, and a decent amount poured into the head with a few ounces of special head lube to keep the valves, seats, and gaskets supple.

Engine winterization
There isn’t much need to cover engine issues here; after all, a sailboat with an inboard auxiliary engine is arguably just a motorboat with a mast, right? I leave engine winterization business mostly to the yard’s professionals, but I am always attentive to the need to add fuel conditioner (and BioBor diesel fuel additive) to the diesel fuel tank to prevent fuel separation and microbial growth.
Dampness: your enemy during the winter months
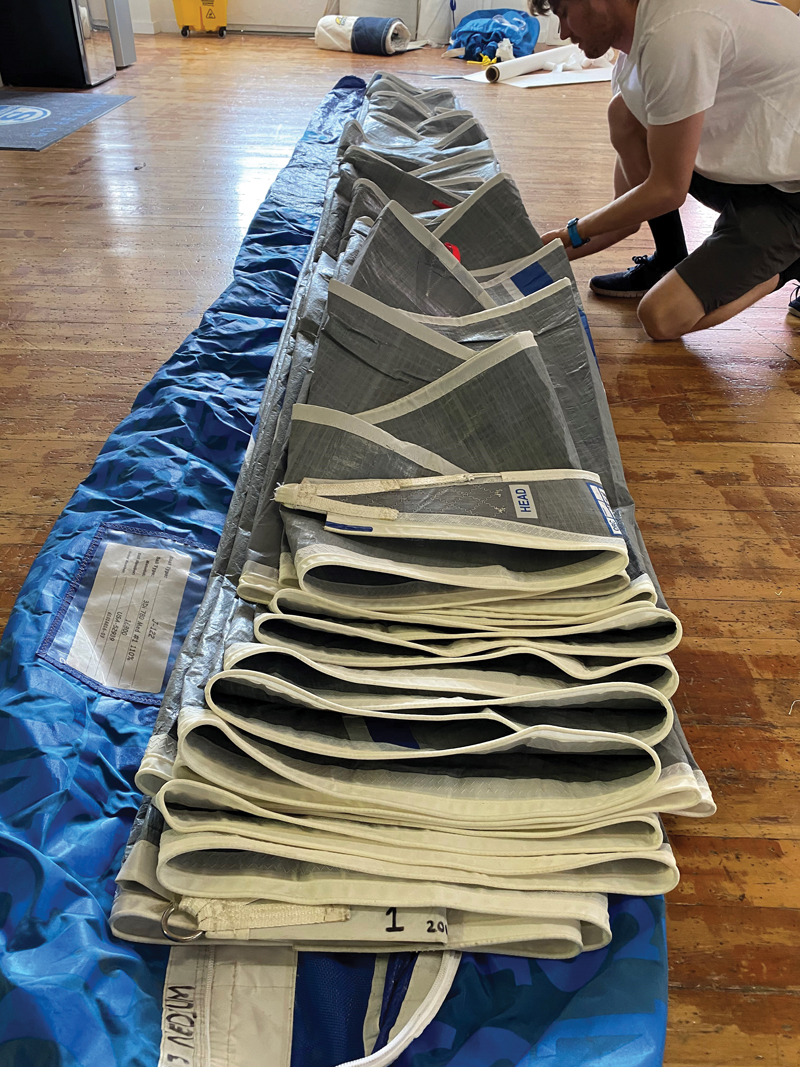
Lastly, as with any boat, dampness and moisture are your enemy over the winter months. There is very little airflow down below during the winter when a boat is closed up and even covered. Black mold will flourish in the damp environment and is a time-consuming pain to remove (I have used a washcloth and bucket of water with a capful of bleach to wipe down surfaces). Better to remove all your cushions and removable covers and store them inside your house or shed. I have also found that it’s worth the money to let your sailmaker clean, fold, and store your sails in their loft over the winter, where they won’t rot or be eaten by mice. They may also store your cushions.
Final thoughts
There are a host of other suggestions, such as removing your batteries for the winter and putting them in a place where it is safe to trickle charge/maintain them over the winter. It’s not a good idea to leave a charger—or a heater!—plugged in and operating during the winter when nobody is around. Boatyard owners hate it; there is the real danger of a fire that would destroy your boat and others if the heater should fall over, which, due to wind vibration in the rigging, has happened on numerous occasions. Be wise and considerate of both the yard and your fellow boat owners because spring, after all, is only a season away!
by Capt. Michael Martel


